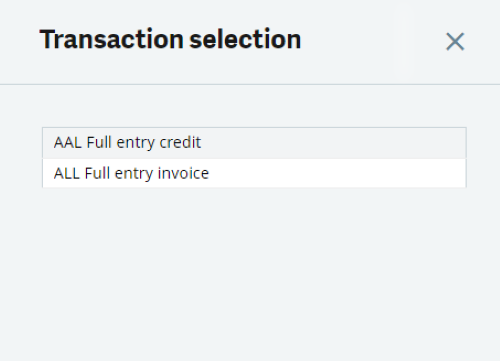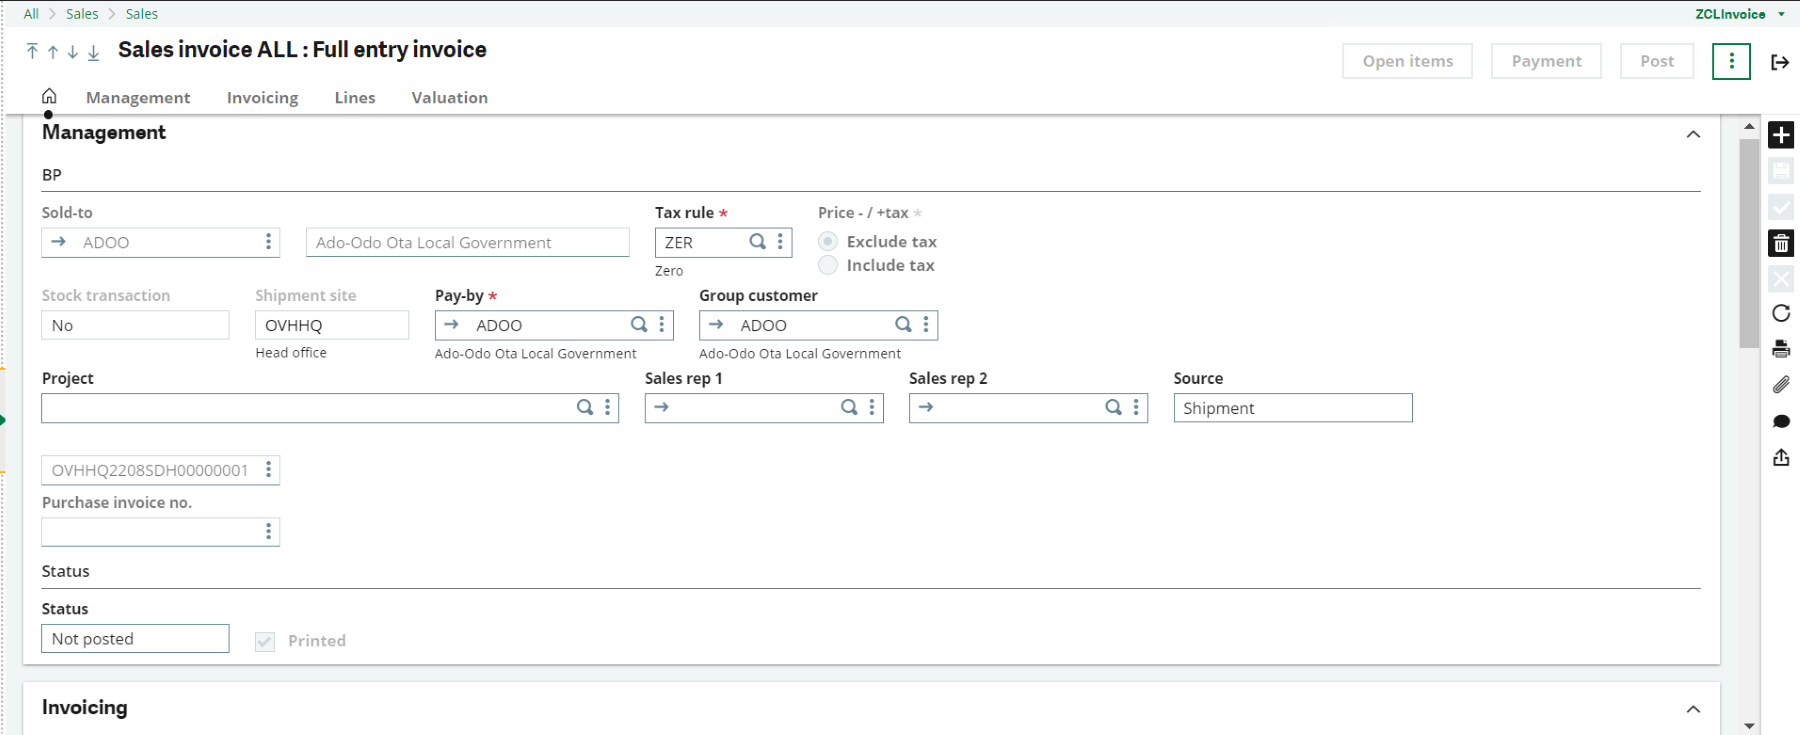
There are several steps to generate a formal document requesting payment from a customer for goods or services delivered:
1. Access the Sales Invoices Module
- Log in to Sage X3 with your credentials.
- Navigate to the Sales module from the main menu.
- On Transaction Selection, choose the option of All Full Entry Invoice
2. Locate the Sales Order or Delivery
- Before creating a sales invoice, you need to have a corresponding sales order or delivery in Sage X3.
- Ensure that the goods or services have been delivered and the order/delivery is ready for invoicing.
3. Search for the Sales Order or Delivery
- In the Sales Orders or Sales Deliveries section, search for the specific sales order or delivery for which you want to create an invoice.
- You can use filters, search by order/delivery number, customer name, or other criteria to find the relevant transaction.
4. Generate the Sales Invoice
- Once you have located the appropriate sales order or delivery, select it and choose the option to create an invoice.
- This action generates a new sales invoice based on the details of the order/delivery.
5. Review Invoice Details
- In the sales invoice screen, review the details imported from the sales order or delivery.
- This includes information such as customer details, invoicing address, ordered items, quantities, prices, discounts, taxes, and any other relevant information.
6. Verify Pricing and Terms
- Ensure that the pricing and payment terms specified in the invoice are accurate and aligned with the sales agreement or contract with the customer.
7. Adjust Invoice Details (if needed)
- If there are any changes or adjustments required in the invoice details (e.g., pricing corrections, additional charges, discounts), you can make these adjustments in the invoice before finalising it.
8. Finalise and Confirm the Sales Invoice
- Once you have reviewed and adjusted the invoice as necessary, finalise and confirm the invoice. This action confirms that the invoice is ready to be sent to the customer for payment.
9. Generate Invoice Documents
- Sage X3 can generate various invoice-related documents such as the invoice itself, payment reminders, statements, and receipts.
- Customise these documents as needed and ensure they comply with legal and accounting standards.
10. Send the Invoice to the Customer
- After generating the invoice documents, you can send the invoice to the customer via email, postal mail, or another preferred communication method.
- Sage X3 may also provide options for electronic invoicing (e-invoicing) to streamline the delivery of invoices and facilitate faster payments.
11. Track and Manage Invoices
- Sage X3 allows you to track and manage invoices throughout the billing and collection process.
- Monitor payment statuses, track overdue invoices, apply payments received, manage credit notes or adjustments, and reconcile accounts receivable.
12. Follow-Up and Collections
- Use Sage X3’s tools and reports to follow up with customers on outstanding invoices, send reminders for overdue payments, and initiate collections processes as needed to ensure timely payment and cash flow management.


